How to Set Up Windows 11: A Step-by-Step Guide
Posted by Team Recompute on 8th Mar 2024
Welcome to the future of computing with Windows 11! Whether you're a first-time user or upgrading from a previous version, setting up Windows 11 is a breeze, and we're here to guide you through each step. In this blog post, we'll walk you through the essential steps of setting up your new Windows 11, including how to create an account and select the US keyboard layout.
Step 1: Installation
If you're installing Windows 11 on a new PC, simply turn on your computer and follow the on-screen instructions. If you're upgrading from Windows 10, you can download the Windows 11 installation assistant from Microsoft's official website to guide you through the upgrade process.
Step 2: Initial Setup
Once Windows 11 starts up, you'll be greeted with the initial setup screen. Here's where the personalisation begins:
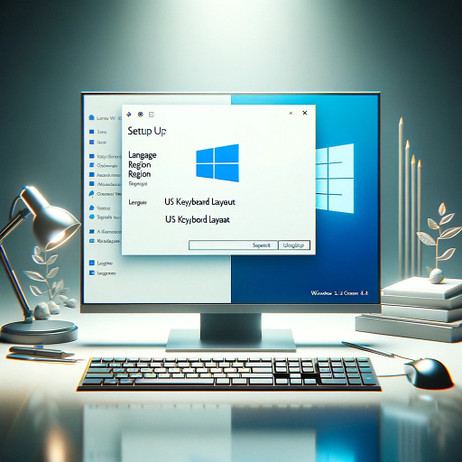
- Language and Region: First, select your preferred language and region. This ensures that your Windows 11 experience is tailored to your location and language preferences.
- Keyboard Layout: Next, you'll be prompted to choose your keyboard layout. In Australia select the US keyboard layout (not UK), scroll through the list of options and click on "US." If you use multiple languages, you can add additional keyboard layouts later in the settings.
Step 3: Connecting to the Internet
Windows 11 will ask you to connect to a network. This step is crucial for updates, account setup, and personalisation features. Choose your Wi-Fi network, enter the password, and connect. If you're using a wired connection, your PC should connect to the internet automatically.
Step 4: Account Setup
Now, it's time to set up your Microsoft account, which is integral for syncing settings, files, and ensuring a seamless experience across devices.
- Sign In or Create a Microsoft Account: If you already have a Microsoft account, sign in with your email and password. If not, you can create a new account by selecting "Create account" and following the prompts. You'll need to provide some basic information, like your name, email, and a password.
- Account Verification: Microsoft will send a verification code to the email or phone number you provided. Enter this code to verify your account.
- Privacy Settings: Windows 11 will show you a series of privacy settings, such as location services, diagnostic data, and tailored experiences. Review these settings and adjust them to your preference.
Step 5: Personalisation
After setting up your account, Windows 11 will allow you to personalise your experience. You can choose a theme, set up a PIN for quicker sign-in, and configure other settings like Cortana and OneDrive.
Step 6: Windows Update
Before you dive into using your new system, it's essential to check for updates. Windows Update will ensure that your system has the latest features, security improvements, and drivers. Go to Settings > Update & Security > Windows Update and click "Check for updates." Do not interrupt the system during the update process and if you are updating a laptop be sure to have the power plugged in.
Step 7: Explore Windows 11
Congratulations! You've successfully set up Windows 11. Now, explore the new features, such as the redesigned Start menu, improved virtual desktops, and the Microsoft Store. Take your time to familiarize yourself with the new environment and customize it to suit your needs.
Setting up Windows 11 is straightforward, but if you encounter any issues, Microsoft's support website and forums are excellent resources. Enjoy your journey with Windows 11, where productivity and creativity come together in a sleek, modern interface. Welcome to the next generation of Windows!
